
Carving, Molds & Surface Finishes

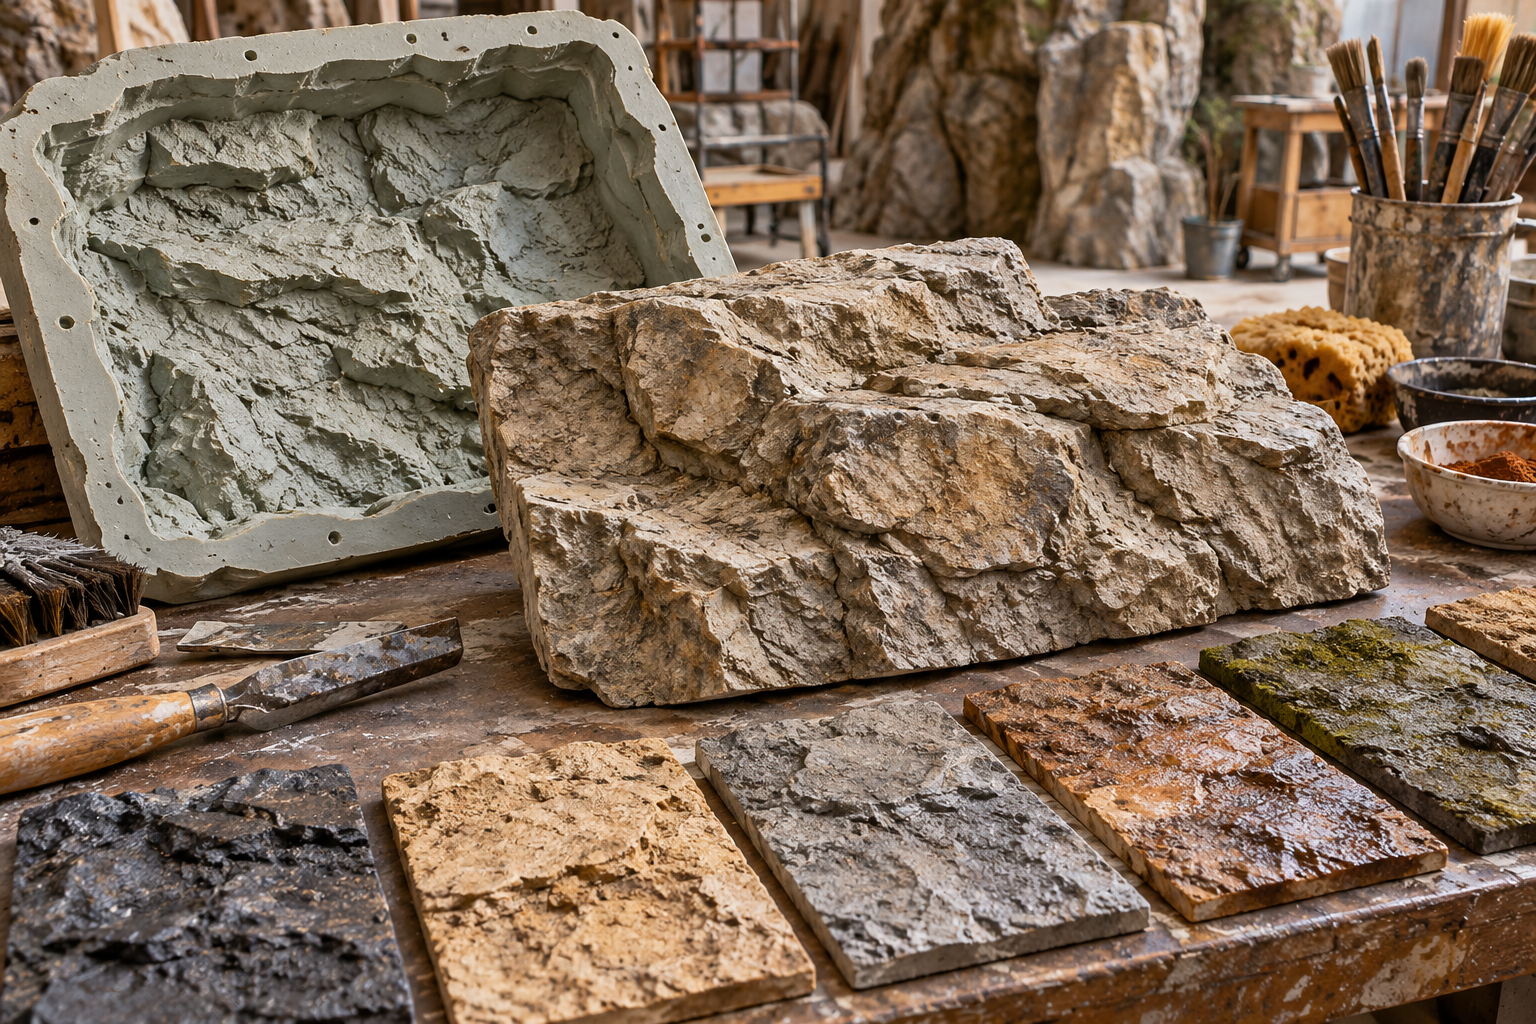
Illustration of a rock texture mold and colored finish samples

The difference between a rock-shaped object and convincing rockwork often emerges at the surface. A fracture changes direction, a shallow layer catches light, or a restrained color variation suggests mineral history. Carving, Molds & Surface Finishes examines the craft behind those details. Explore hand-shaped texture, impressions taken from suitable references, repeated mold patterns, edge transitions, coloration, and the effects of wetting and illumination. The emphasis is on making detail serve the larger form. A textured surface can still look artificial when every area receives the same treatment or when neighboring panels repeat an obvious pattern. This collection helps scenic artists and project owners compare samples with clearer criteria: scale, direction, relief, sheen, and the relationship between quiet planes and stronger accents. It also considers reproducibility and repair, because an approved finish should be documented well enough to discuss later maintenance or replacement. Start with the geological character and viewing distance, then choose the methods that support them. The most effective finish reveals a surface hierarchy rather than simply demonstrating how many effects can be applied.

Relief: Raised and recessed detail catches light.
Carving: Deliberate cuts establish fractures and layers.
Molding: Impressions transfer surface information.
Pattern: Repetition must suit the overall composition.
Color: Variation should reinforce geological character.
Sheen: Surface reflection affects perceived realism.
Scale: Detail size relates to viewing distance.
Edges: Transitions connect adjacent textured areas.
Samples: Approved references establish expectations.
Records: Document methods for later matching.
Broad planes: Quiet surfaces balance strong detail.
Directional texture: Related marks create visual continuity.
Mold rotation: Orientation changes pattern recognition.
Wet color: Moisture can deepen apparent tones.
Raking light: Shallow relief becomes more pronounced.
Joint treatment: Seams need scenic and functional coordination.
Layered color: Subtle variation can avoid flat paint effects.
Tool marks: Unintended regularity may reveal fabrication.
Repair samples: Matching requires representative conditions.
Viewing distance: Close detail may disappear across a pool.
Reference images: Study coherent geological examples.
Texture molds: Use suitable documented source materials.
Carving tools: Match tools to the specified medium.
Sample boards: Compare relief and coloration together.
Lighting mockups: Test the intended illumination angle.
Wet-dry comparisons: Review both expected appearances.
Color records: Retain approved finish information.
Pattern maps: Track repeated mold placement.
Full-size details: Include edges and joints in samples.
Care guidance: Understand finish-specific maintenance limits.
Hierarchy: Not every mark should compete equally.
Geological direction: Texture can reinforce bedding and fracture systems.
Repetition control: Vary placement without losing coherence.
Finish compatibility: Products must suit the substrate and exposure.
Perception: Lighting can exaggerate or flatten the same surface.
Repairability: Complex effects need clear reference records.
Process timing: Material condition influences workable techniques.
Sample scope: A small patch may omit important transitions.
Aging expectation: The finish may evolve in service.
Design restraint: Selective detail often communicates more clearly.
Light carving: Shallow marks can create strong shadows.
Repeated signatures: Distinct mold features become recognizable.
Color without glare: Matte and glossy surfaces read differently.
Quiet intervals: Smooth areas make rough accents more effective.
Edge storytelling: A fractured boundary suggests geological history.
Wet transformations: Water can change the whole color balance.
Scale illusions: Fine detail can make large forms look small.
Hand variation: Controlled irregularity avoids mechanical sameness.
Sample archives: Old finish boards can guide future repairs.
Moving shadows: Changing light reveals different parts of the texture.
Q: Does more texture always look more realistic?
A: No. Surface hierarchy and geological logic matter.
Q: Can mold repetition become obvious?
A: Yes. Distinctive patterns need thoughtful placement.
Q: Why test wet and dry samples?
A: Color and sheen can change significantly.
Q: Should color hide weak massing?
A: No. Finish cannot replace coherent large forms.
Q: What does raking light reveal?
A: It emphasizes surface relief and irregularities.
Q: Can all finishes use the same cleaning method?
A: No. Material-specific guidance is necessary.
Q: Why document an approved sample?
A: It creates a reference for production and repairs.
Q: Is a small color chip enough?
A: It may not show texture, scale, or lighting effects.
Q: How should joints be finished?
A: Coordinate appearance with their required function.
Q: What should be chosen first?
A: Establish geological character and viewing conditions before detailed effects.